Manage resource limits
Let’s learn how to manage resource limits on the SPEKTRA Edge platform.
What you need
To go through this page, you need the following.
- access to the SPEKTRA Edge dashboard
- an active project
- a device provisioned under the project
How limits work
Three numbers describe every limit, and telling them apart saves a lot of confusion later.
| Value | Meaning |
|---|---|
| Usage | How many of that resource exist right now. |
| Configured limit | The ceiling your plan currently allows. |
| Active limit | The ceiling actually being enforced. |
Normally the configured and active limits are equal, and the dashboard shows one number. They diverge in two situations: briefly, while a change you just made propagates; and, more importantly, when a limit is lowered at the moment usage is rising. In that case the active limit holds the older, higher value rather than retroactively putting you over quota. A lasting difference between the two is a signal worth investigating, not a display quirk.
A limit is not something you set. It is derived from the plan assigned to your project, which is why the dashboard offers you a request rather than an edit field: the request adjusts the underlying plan assignment, and the limit follows. The same is true through the API — the limit resource is read-only, and writing to it is not possible.
Limits are per region
This is the part that surprises people. A limit applies to a resource type in a region, so a project spanning two regions has two separate allowances for the same resource type, not one shared pool.
A limit of 25 pods in a project enabled for us-west2 and eu1 means 25 pods
in each — 50 in total. Conversely, having room in one region does not help a
device trying to start a pod in the other.
Resources that are not themselves regional draw against every region the project occupies, so enabling an additional region affects them too.
Limits are shared with child projects
The limit applies not only to the current project but to any child projects beneath it. If the current project’s pod limit is 25, the total across the current project and all its children is 25 — children draw from the same allowance, not their own.
Plan for this before building a deep project hierarchy: a parent limit sized for one team’s use will not accommodate ten child projects.
When you hit a limit
An API call that would exceed a limit fails with RESOURCE_EXHAUSTED
(HTTP 429). Retrying will not help — the request was refused because the
resource does not fit, not because you called too often. Raise the limit or
free something up.
For automation, check headroom before a bulk create instead of discovering the ceiling part-way through; a half-finished bulk operation is more work to reconcile than one that never began.
Retention policies
Limits cap how many things exist. Retention policies are the related control over how long time-series and log data is kept, and are worth reviewing alongside limits — they determine both how far back you can investigate an incident and how much stored data your project accumulates.
Request resource limit changes
First step to manage the resource limits is to request the limit change.
Let’s go to the Limits overview page by clicking the Limits option from the side bar menu.
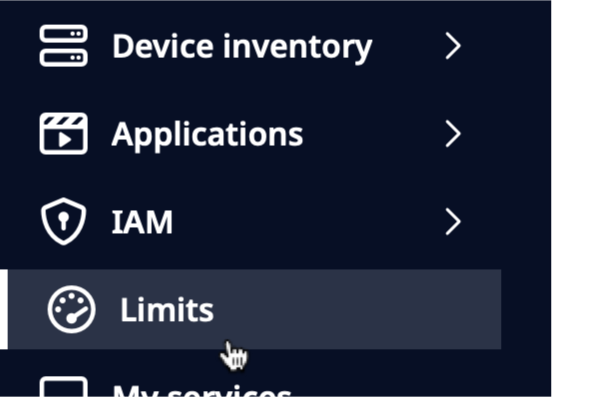
Clicking the Limits icon on the dashboard side bar menu.
Click the Change limits button to open the Request resource limit change dialog.
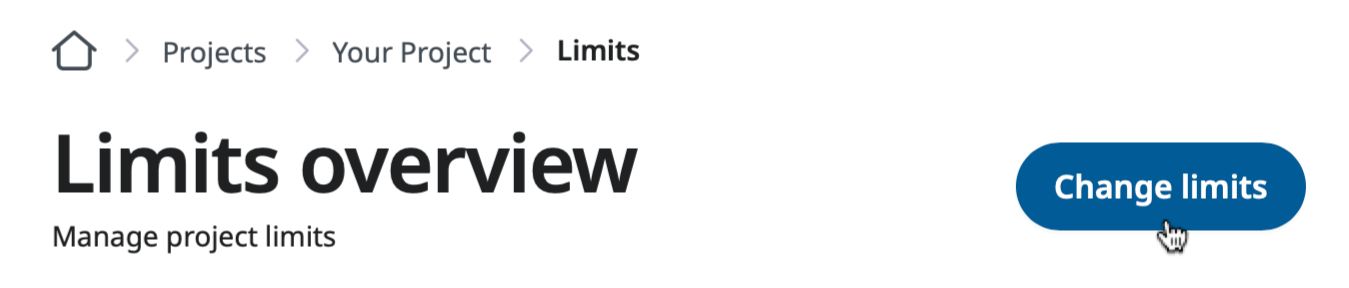
Clicking the Change limits button on the Limits overview page.
Let’s request the Pod resource increase from 25 pods to 50.
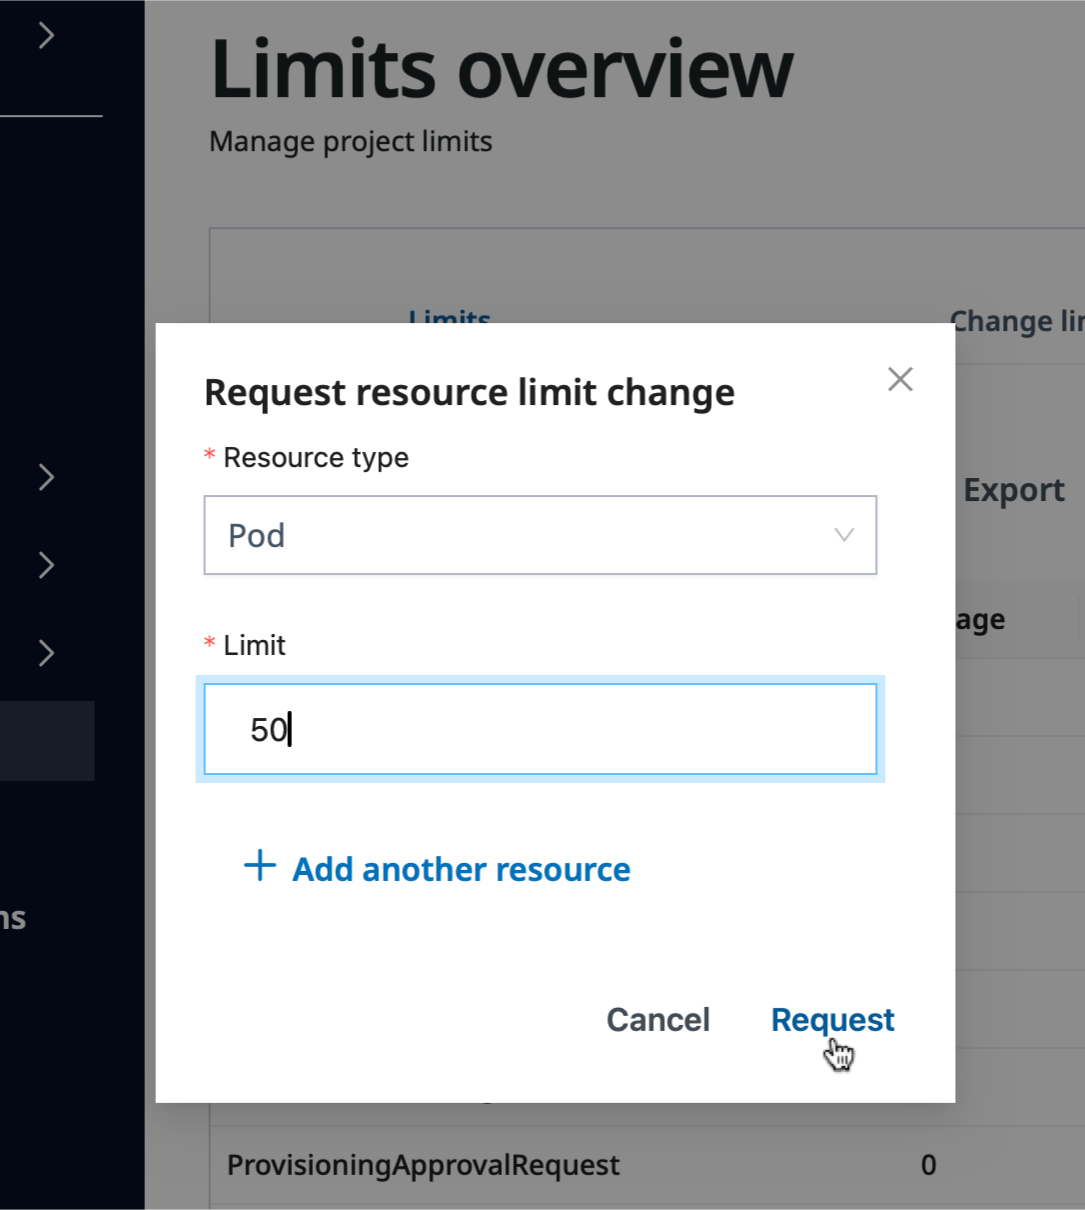
Request the Pod resource increase.
That’s it for the resource limit request.
Remember that the figure you request is per region, and is shared with any child projects. Size it for the whole subtree in one region, not for this project alone.
Approve resource limit changes
After the resource limit requests, the remaining task is to approve the request to make it effective.
Click the Change limits requests tab to show the list of change limit requests.

Click the Change limits requests tab to show the list of change limit requests.
Approve the request by selecting the Approve option of the Actions column.
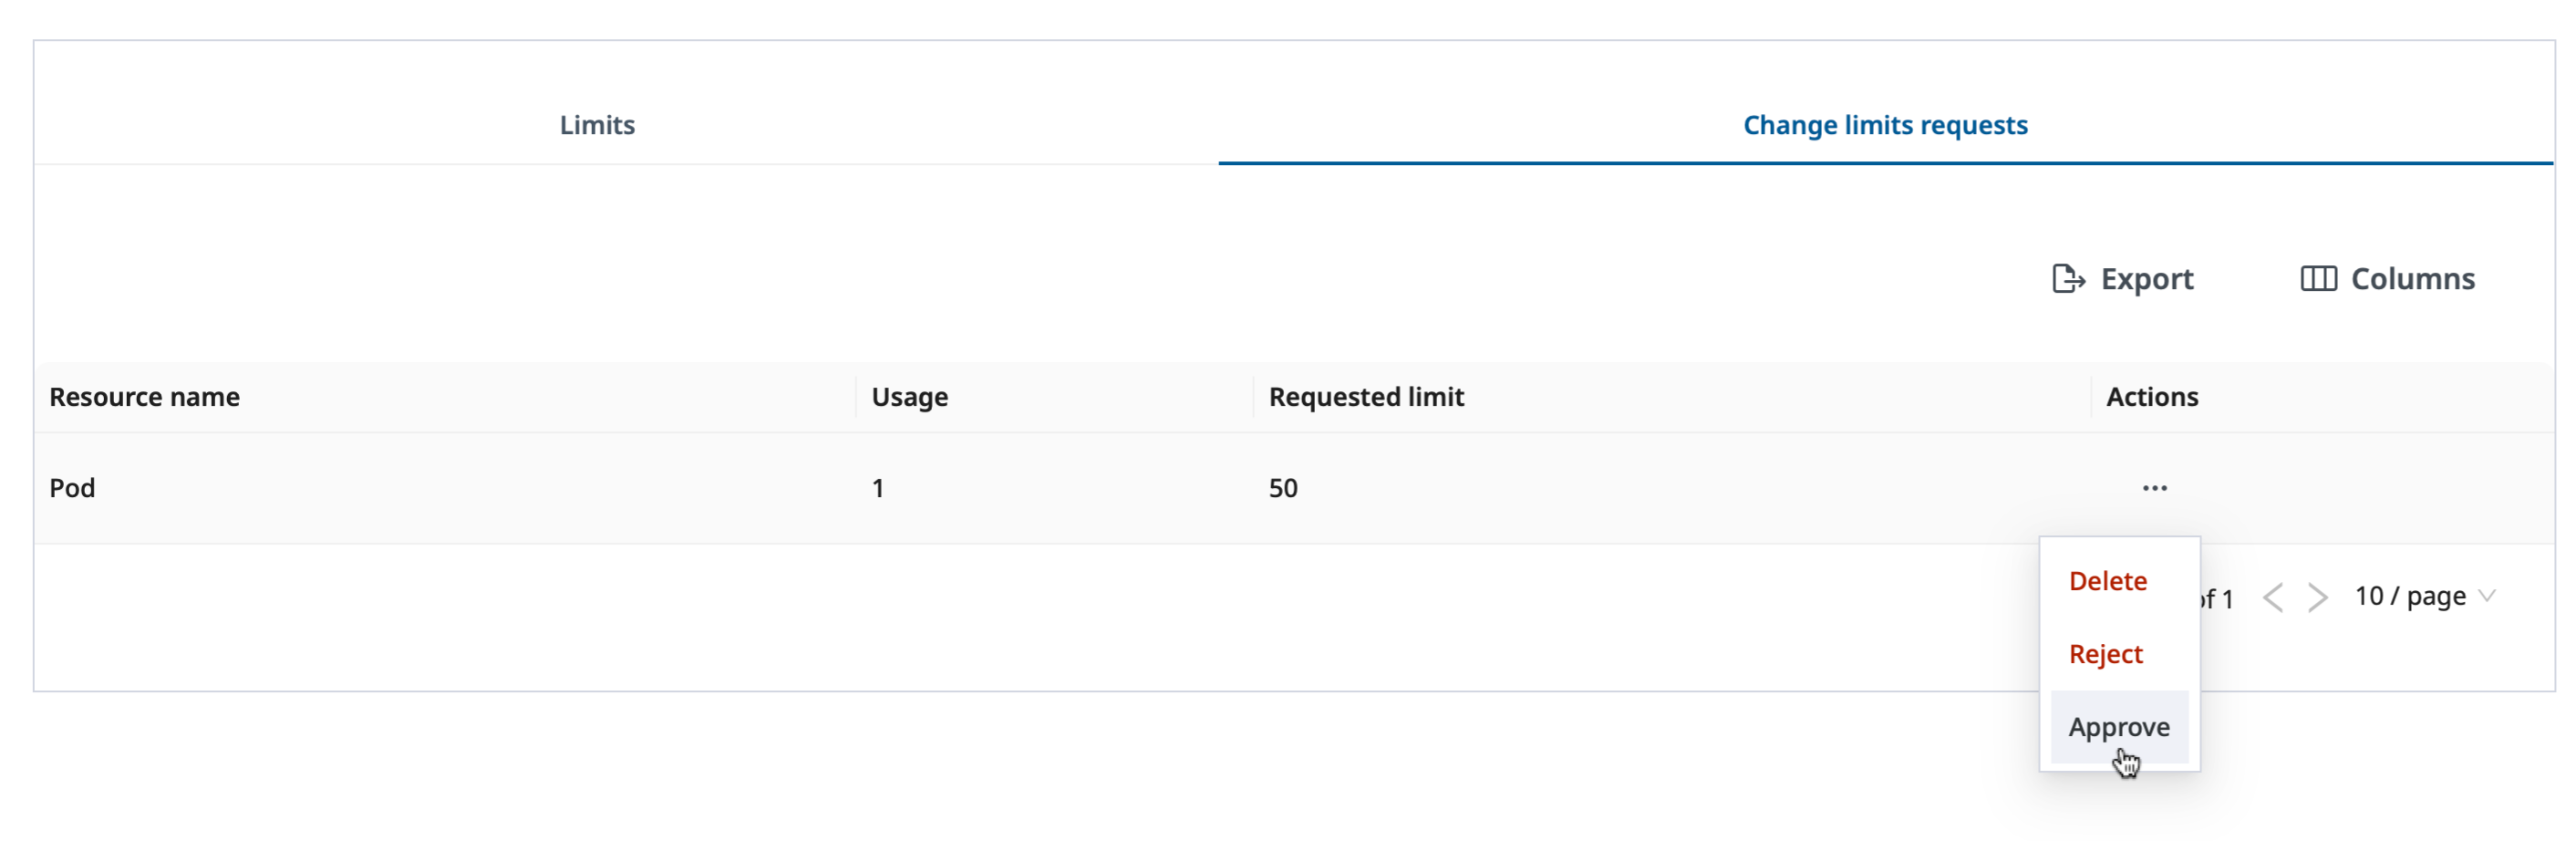
Approving the pod resource limit request by selecting the Approve option of the Actions menu.
That’s it!
Next steps
That is the end of the Learn path: you can set up devices, run applications on them, watch them, and control who else can.
If you operate Service Experience Insights, continue with Insights. If you want to drive all of this from your own code rather than the dashboard, Integrate is the place to go.